
GUN STORE
Are you new to guns? Or are you a Gun Enthusiast looking for “gun stores near me” to buy new or used guns for sale? Welcome to fireaarmssite.com, we are premium Gun sellers. We offer the best gun deals from top brands like Glock, Smith & Wesson, Ruger, Sig Sauer, Colt and more. Apart from having firearms from top brands we also do carry a large collection of firearms ranging from handguns to rifles and shotguns. Are you looking to buy a gun online at cheap prices? We do sell new and used guns at best prices. Browse our available firearms for sale from our Gun Store.
Guns On Sale
Handguns


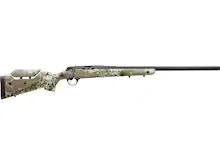
Rifles


Gun Stores Near Me | Gun Shop Near Me
Gun shops are also known as gun stores or marketplace that legally sell licensed firearms like handguns, shotguns, and rifles to anyone looking for the perfect gun. Many gun shops also sell accessories and ammunition.
Do you want to find a gun shop close to you? Are you looking for a complete list of gun shops close to where you live? Do you want to know more about gun shops? This is the place for you! We are a local gun store found on every gun shops near me map in the United States.
If you’re searching gun shops near me, you will likely be a hunter or a gun enthusiast looking for the perfect gun. Your quest is not unique. The US is the third-most populous country on Earth. Only 5% of the world’s population lives within its borders. However, almost half of all civilian firearms worldwide are bought in America.
The US is home to more civilian guns than any other country. Experts estimate that there are more than 270 million guns currently in circulation. India is home to the second-highest number of guns, approximately one-sixth as many as the US. The US boasts the highest per-capita gun ownership statistics. According to some estimates, there are 88.8 guns per 100 residents. This is double the number of guns in Switzerland, which has 45.7 guns for every 100 citizens. Yemen comes in second place with 54.8 guns per 100 residents.
Find out fascinating facts and trivia about these stores by reading the following!
CUSTOMER FAVORITES IN GUNS
-
Sale!

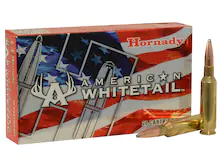
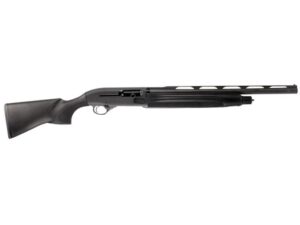
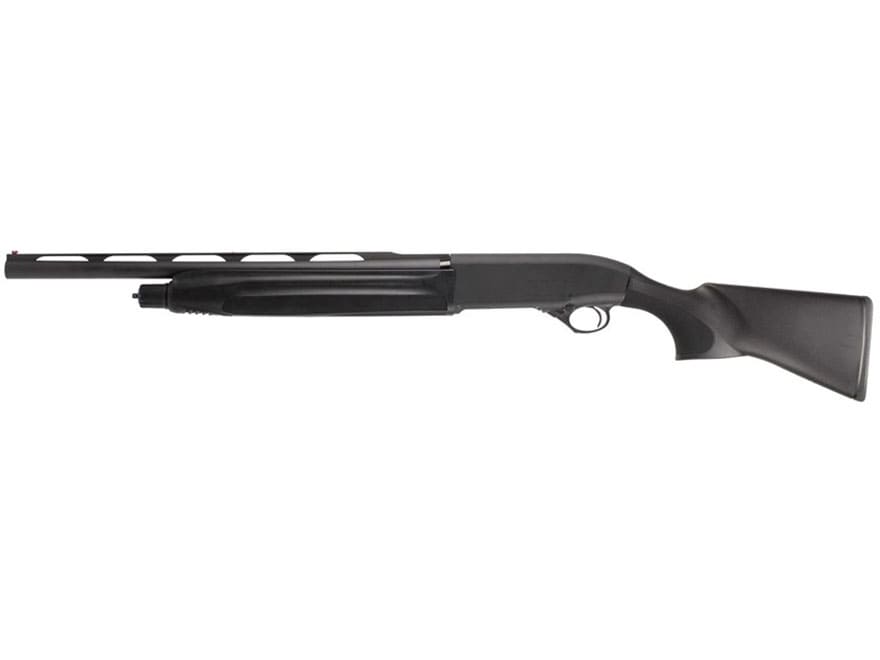
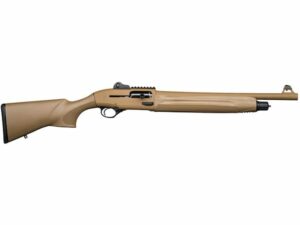
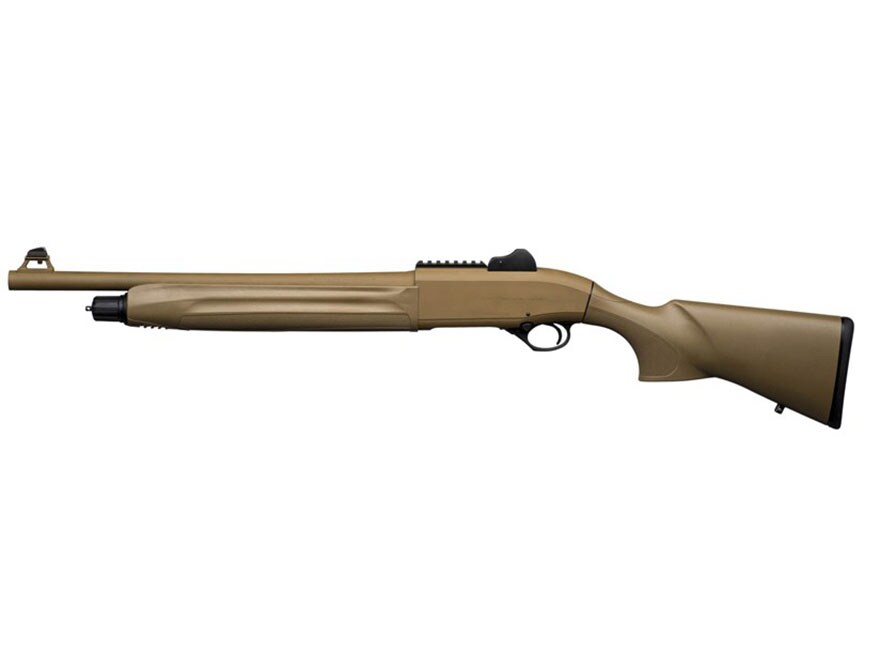
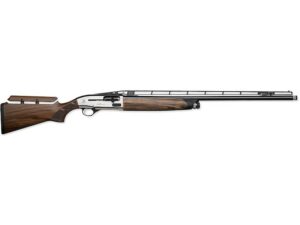
 Guns for Sale
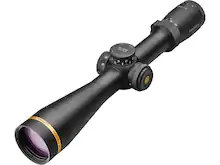
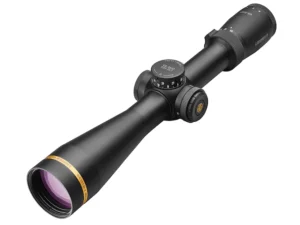
Leupold VX-5HD Rifle Scope 30mm Tube 3-15x 44mm CDS-ZL2 Side Focus Matte Refurbished For Sale
Rated 0 out of 5$1,099.00$980.00 Add to cart -
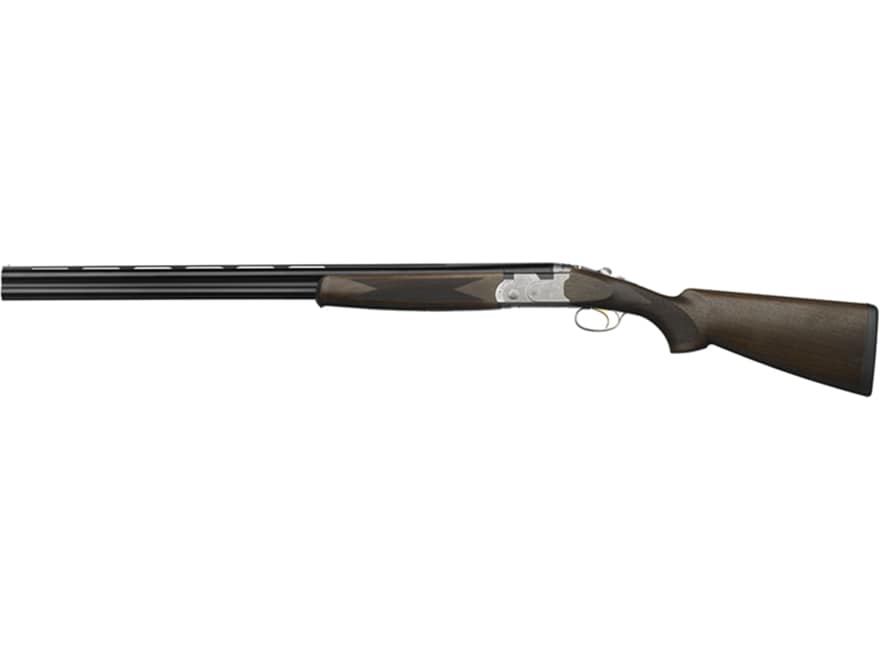
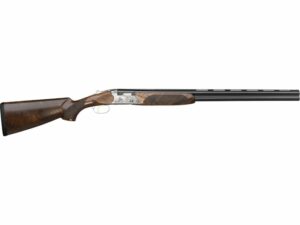
Beretta Shotguns for Sale
Beretta 686 Silver Pigeon Combo 20 & 28 Gauge Over/Under Shotgun 28″ Barrel Blued and Walnut For Sale
Rated 0 out of 5$3,449.00 Add to cart -
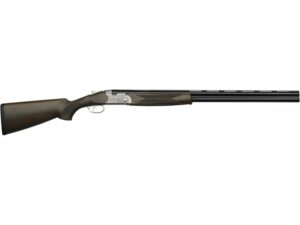
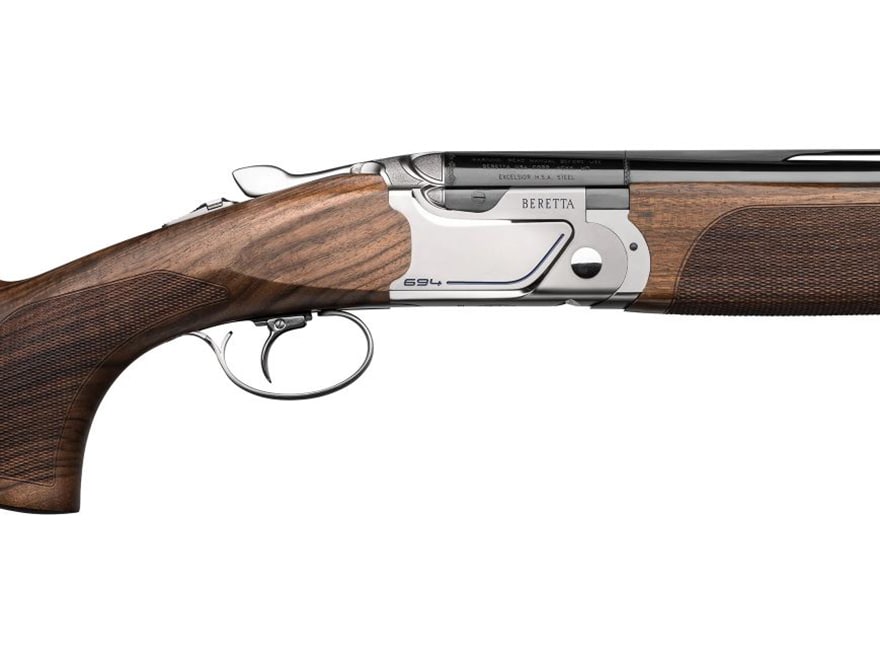
Beretta Shotguns for Sale
Beretta 694 Sporting 12 Gauge Over/Under Shotgun 32″ Barrel Blued and Walnut Adjustable Comb For Sale
Rated 0 out of 5$4,849.00 Add to cart -
Beretta Shotguns for Sale
Beretta 1301 COMP Shotgun 12 Gauge Black Synthetic For Sale
Rated 0 out of 5$1,269.00 Add to cart -
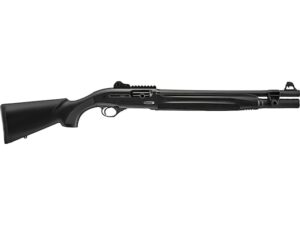
Beretta Shotguns for Sale
Beretta 1301 Tactical Shotgun 12 Gauge 18.5″ Barrel Ghost Ring Synthetic For Sale
Rated 0 out of 5$1,375.00 Add to cart -
Beretta Shotguns for Sale
Beretta A400 Xcel Multi-Target 12 Gauge Semi-Automatic Shotgun 30″ Barrel Blued and Walnut Adjustable For Sale
Rated 0 out of 5$2,779.00 Add to cart -
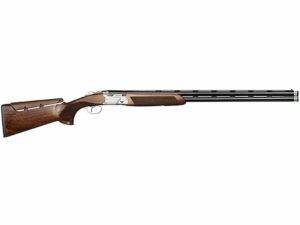
Beretta Shotguns for Sale
Beretta 687 Silver Pigeon III For Sale
Rated 0 out of 5$2,849.00 Add to cart -
Beretta Shotguns for Sale
Beretta 1301 Tactical Semi-Automatic Shotgun For Sale
Rated 0 out of 5$1,509.00 Add to cart
Guns for Sale Statistics
The United States has a wide range of firearm sales. They can vary monthly and often change with the seasons or political climate. These facts are essential to remember when looking for gun shops nearby. Gun shop statistics show that gun sales tend to rise during the holidays, just like other general shopping outlets. These stores typically enjoy the highest profit margins in December. It is unknown if people are buying more December for gifts or protection. Many gun shops in America suffered from the Great Recession. Although sales were relatively stable, many gun shops failed to thrive as American shoppers shifted their focus on saving and frugality.
Why Buy Guns Online?
Each person has their own reasons for buying a gun online. Gun owners have many reasons in common, although there is no fixed answer. These reasons can vary from one state to the next and across countries worldwide because religion, politics, and recreational activities vary in different areas.
Gun store owners in the Southern United States often report a variety of reasons why they purchase guns. One reason is the fear of gun control. Many people in the Southern US are afraid of government regulation. Many will buy guns to prepare for stricter gun laws, depending on the person in power.
Personal protection is another reason that people often give. Many feel the need for personal protection as tensions rise. Guns are also highly valued, and many people are interested in purchasing them. Guns can retain their value for many years, making them an attractive investment. While most gun purchases are made in the context of an independent firearm business, many others take place at large chains like Walmart. Walmart is currently the largest seller of small arms in the United States.
Gun Owners Fanatics:
Gun owners are often portrayed as being obsessed with guns and fearful of restrictions or laws that might affect their right to the Second Amendment. Many people don’t realize that most gun owners in America are incredibly sensible. They want the same common sense measures as most Americans who don’t own guns.
Most gun owners favor gun control in limited forms and provisions, contrary to the old cliché of “pry it out of my cold dead hands.” They are open to new restrictions if they have a practical purpose.
Statisticians show that over 85 percent of current gun owners support stricter background checks for gun sales. They also support gun bans for the mentally ill and those with a history of violence.
Gun owners don’t fear gun control. They just want reasonable control that doesn’t restrict or interfere with the rights granted early in America’s history. As you look for gun shops near you, think about your position on gun control. Is your opinion in line with the opinions of other gun owners?
New & Used Guns for Sale
Are you looking for new or used guns for sale? Stress no more! Firearmssite.com has a wide selection of new and used guns available for sale. Firearmssite.com keeps an updated inventory of used firearms and checks each gun for reliability and function. Many of these guns are only used for demonstrations in stores and are very lightly used. Sometimes we also sell trade-ins from the police. If you’re looking to sell a firearm, used guns can be a great way of saving money.
Benefits of getting Used Guns from Firearmssite.com:
- Our used firearms come with a 1-year warranty!
- Many include free gun range membership (discounted range rate).
- All used firearms have been thoroughly inspected and cleaned.
Firearmssite.com has the best selection of quality firearms for you to arm yourself and add to your gun collection. We offer the best gun deals!
You can always return to this page if you don’t find what you are looking for. This can include rifles, shotguns, and other used guns for sale.
Frequently Asked Questions on Gun ?
At Firearmssite.com, we aren’t only focus on selling our guns or Ammunition we have in stock, we are also focused in answering the most frequently asked questions on our stock list and also helping our customers in picking the best gun and ammo deals. Below is the most generic questions on guns , looking for other alternative questions than guns, browse our website to find the relevant information or send us a message via the live chat or contact us page.
How do I obtain an FFL?
Federal law requires you to have a Federal firearms licence if your business is as a gun dealer or manufacturer. The following applies to all license types:
- 1. A person who makes firearms with the primary purpose of making a living or profit from the sale or distribution of firearms produced (18 U.S.C. SS 921(a),(21)(A);
- 2. Manufacturer of ammunition -- A person who spends time, attention and labor in manufacturing ammunition with the primary objective of making a living and profit from the sale or distribution of the ammunition produced (18 U.S.C. SS 921(a)(21)(B));
- 3. Dealer in firearms -- A person who spends time, attention and labor dealing in firearms as part of a regular trade or business with a principal objective to livelihood and profit through repetitive purchase and sale of firearms. However, such term does not include someone who occasionally sells, exchanges or purchases firearms for the purpose of an enhancement of a personal or hobby collection, or who sells all of his firearms collection (18 U.S.C. SS 921(a),(21)(C); - 7 –
- 4. Dealer in firearms (gunsmith); - A person who dedicates time, attention and labor to such activity as a routine course of trade or business with principal objective of livelihood or profit. However, such term does not include someone who fixes firearms or who occasionally attaches trigger mechanisms, barrels, stocks or special barrels to them (18 U.S.C. SS 921(a),(21)(D);
- 5. Dealer in firearms (pawnbroker); 5. SS 921(a),(12);
- 6. Importer of firearms -- A person who spends time, attention and labor on importing firearms as part of a regular trade or business, with the primary objective of earning a living and profit from the sale or distribution of imported firearms (18 U.S.C. SS 921(a),(21)(E);
- 7. Importer of ammunition -- A person who spends time, attention and labor on importing ammunition as part of a regular trade or business, with the primary objective of earning a living and profiting from the sale or distribution of ammunition imported (18 U.S.C. SS 921(a),(21)(F). SS 921(a)(21)(F).
It is not necessary to have a minimum number of firearms manufactured or sold in order to be considered "engaged in business." Each case is unique. The quantity of firearms sold or manufactured; the number of transactions per period; the intent of the person to acquire and dispose of firearms; any representations made by the buyer about the buyer's ability or willingness to acquire or transfer firearms are all considered. We recommend that you contact your local ATF office (http://www.atf.gov/field/index.html) to evaluate the facts and circumstances of your particular case. Information on how to become a Federal firearms licensee is available at: http://www.atf.gov/firearms/how-to/become-an-ffl.html.
How do you obtain a Firearms Purchaser Identification Card?
To obtain a firearms card, all applications must be done through your local police department. Residents from out of State may apply online for a Firearms Purchaser ID Card.
To apply online utilizing the Firearms Applicant Registration System (FARS) please go to https://www.njportal.com/NJSP/fars for NJ citizens. Before you can start the application process, please contact the Police Department/Station covering your address to obtain the correct ORI number. Incorrect submissions will not be accepted.
Contact your local police department for more information about specific requirements.
How do you buy rifles and/or shotguns?
The seller of rifles and/or shotguns (including bb, pellet and black powder) must ensure that the buyer holds a valid Firearms Purchaser Identification card. They also need to complete a Certificate Of Eligibility for each firearm. To be valid, the information on the Firearms Purchaser ID Card must match the identity of the transferor. You can obtain a Certificate Of Eligibility at any licensed firearms dealer or on this website. *All firearms transactions must take place at a state licensed retail firearms dealer. Transactions between members of an immediate household, law enforcement officers, and collectors are exempted.
How do you buy handguns?
Each handgun that is transferred to this state must have a Permit to Purchase Handgun. The seller of the handgun must ensure that the buyer is issued a valid Permit for Purchase of a Handgun. The identification of the transferor must be matched on the Handgun Purchase Permit. ( i.e, name address, DOB, sex, etc.) Both the buyer and seller must complete the permit. The seller must forward copies to the appropriate authority. The permit includes instructions. *All firearms transactions must take place at a licensed State retail firearms dealer.
How do you transport firearms?
Firearms must be unloaded and kept in a locked and secured case, gunbox or securely tied package. The firearm and ammunition must be kept away from drivers if the vehicle does not have separate compartments.
To protect ammunition, it must be kept in a separate container and locked in its trunk. Ammunition magazines can be loaded while being transported and should be kept separate from the firearm.
Can I transport my firearm on a motorcycle to the range?
Yes. It must be carried in the same way as described above. It is preferred to have a motorcycle with lockable bags, but you can also use a saddle bag or a backpack with an unloaded firearm in locked containers.
How do I apply for a permit to carry a handgun?
You must apply to the New Jersey municipal police department if you live in New Jersey. If your municipality is not served by the New Jersey State Police you will need to apply at the station that covers your municipality. Residents of other states must apply at the State Police station closest to their geographical location. No matter where you live, all armored vehicle employees must apply to the nearest State Police Station
If I inherit a firearm what must I do?
For the transfer of firearms upon death to an owner, a firearm purchaser identification card or handgun purchase permit is not required. The firearm must be legal in the state to be owned and the person who will receive it cannot be denied the firearm. If the heir/legatee is not qualified to possess and acquire the firearm, the firearm may be kept for 180 days provided that the firearm is transferred to either the chief law enforcement officer or the superintendent.
I have moved from my state to another state. May I continue to possess my firearm(s)?
Yes, firearms that were legally acquired in your previous residence and are legal to possess can be brought to your new residence once residency has been established. Although the owner can VOLUNTARILY register firearms by filling out a Voluntary Form of Firearms Registration (found on this website), the owner is not required to do so.
Can I purchase a firearm directly from someone in another State?
No. To make this transaction legal, it must be processed by a federally licensed firearms dealer in the State where the purchaser/receiver lives.
Can I ship a Gun to anyone?
No. First verify that the license is valid by obtaining their FFL license number and checking https://fflezcheck.atf.gov/fflezcheck/. You can also search FFL ezCheck and enter the relevant information.
If you're going to another state, you can ship a firearm to you. The package should only be addressed to the firearm owner.
I have an old gun and want to get rid of it, what do I do?
You may contact your local police department for destruction. Before transporting the gun to this department, you will need to give written notice to the chief of police or superintendent of the municipality where you live. A gun shop may be able to offer to buy the gun. If they accept the firearm, they must give you a written receipt.
I have been convicted of a felony. How do I reinstate my rights to possess a Gun?
A person who has been convicted of "a crime punishable by imprisonment for more than one year" as per 18 U.S.C. SS 921(a),(20): Federal law prohibits them from possessing or receiving firearms. SS 922 (g)(1). Section 922(g),(1). Felons whose convictions were set aside or expunged or for whom the person has had their civil rights restored or pardoned are not considered guilty under section 922 (g)(1), except where the law in the jurisdiction prohibits them from possessing firearms. For information about State firearms restrictions and other options, including a gubernatorial Pardon or civil rights restoration, persons convicted of State offenses should contact the State Attorney's Office in their State. A list of State Attorney General contact numbers may be found at http://www.naag.org/.